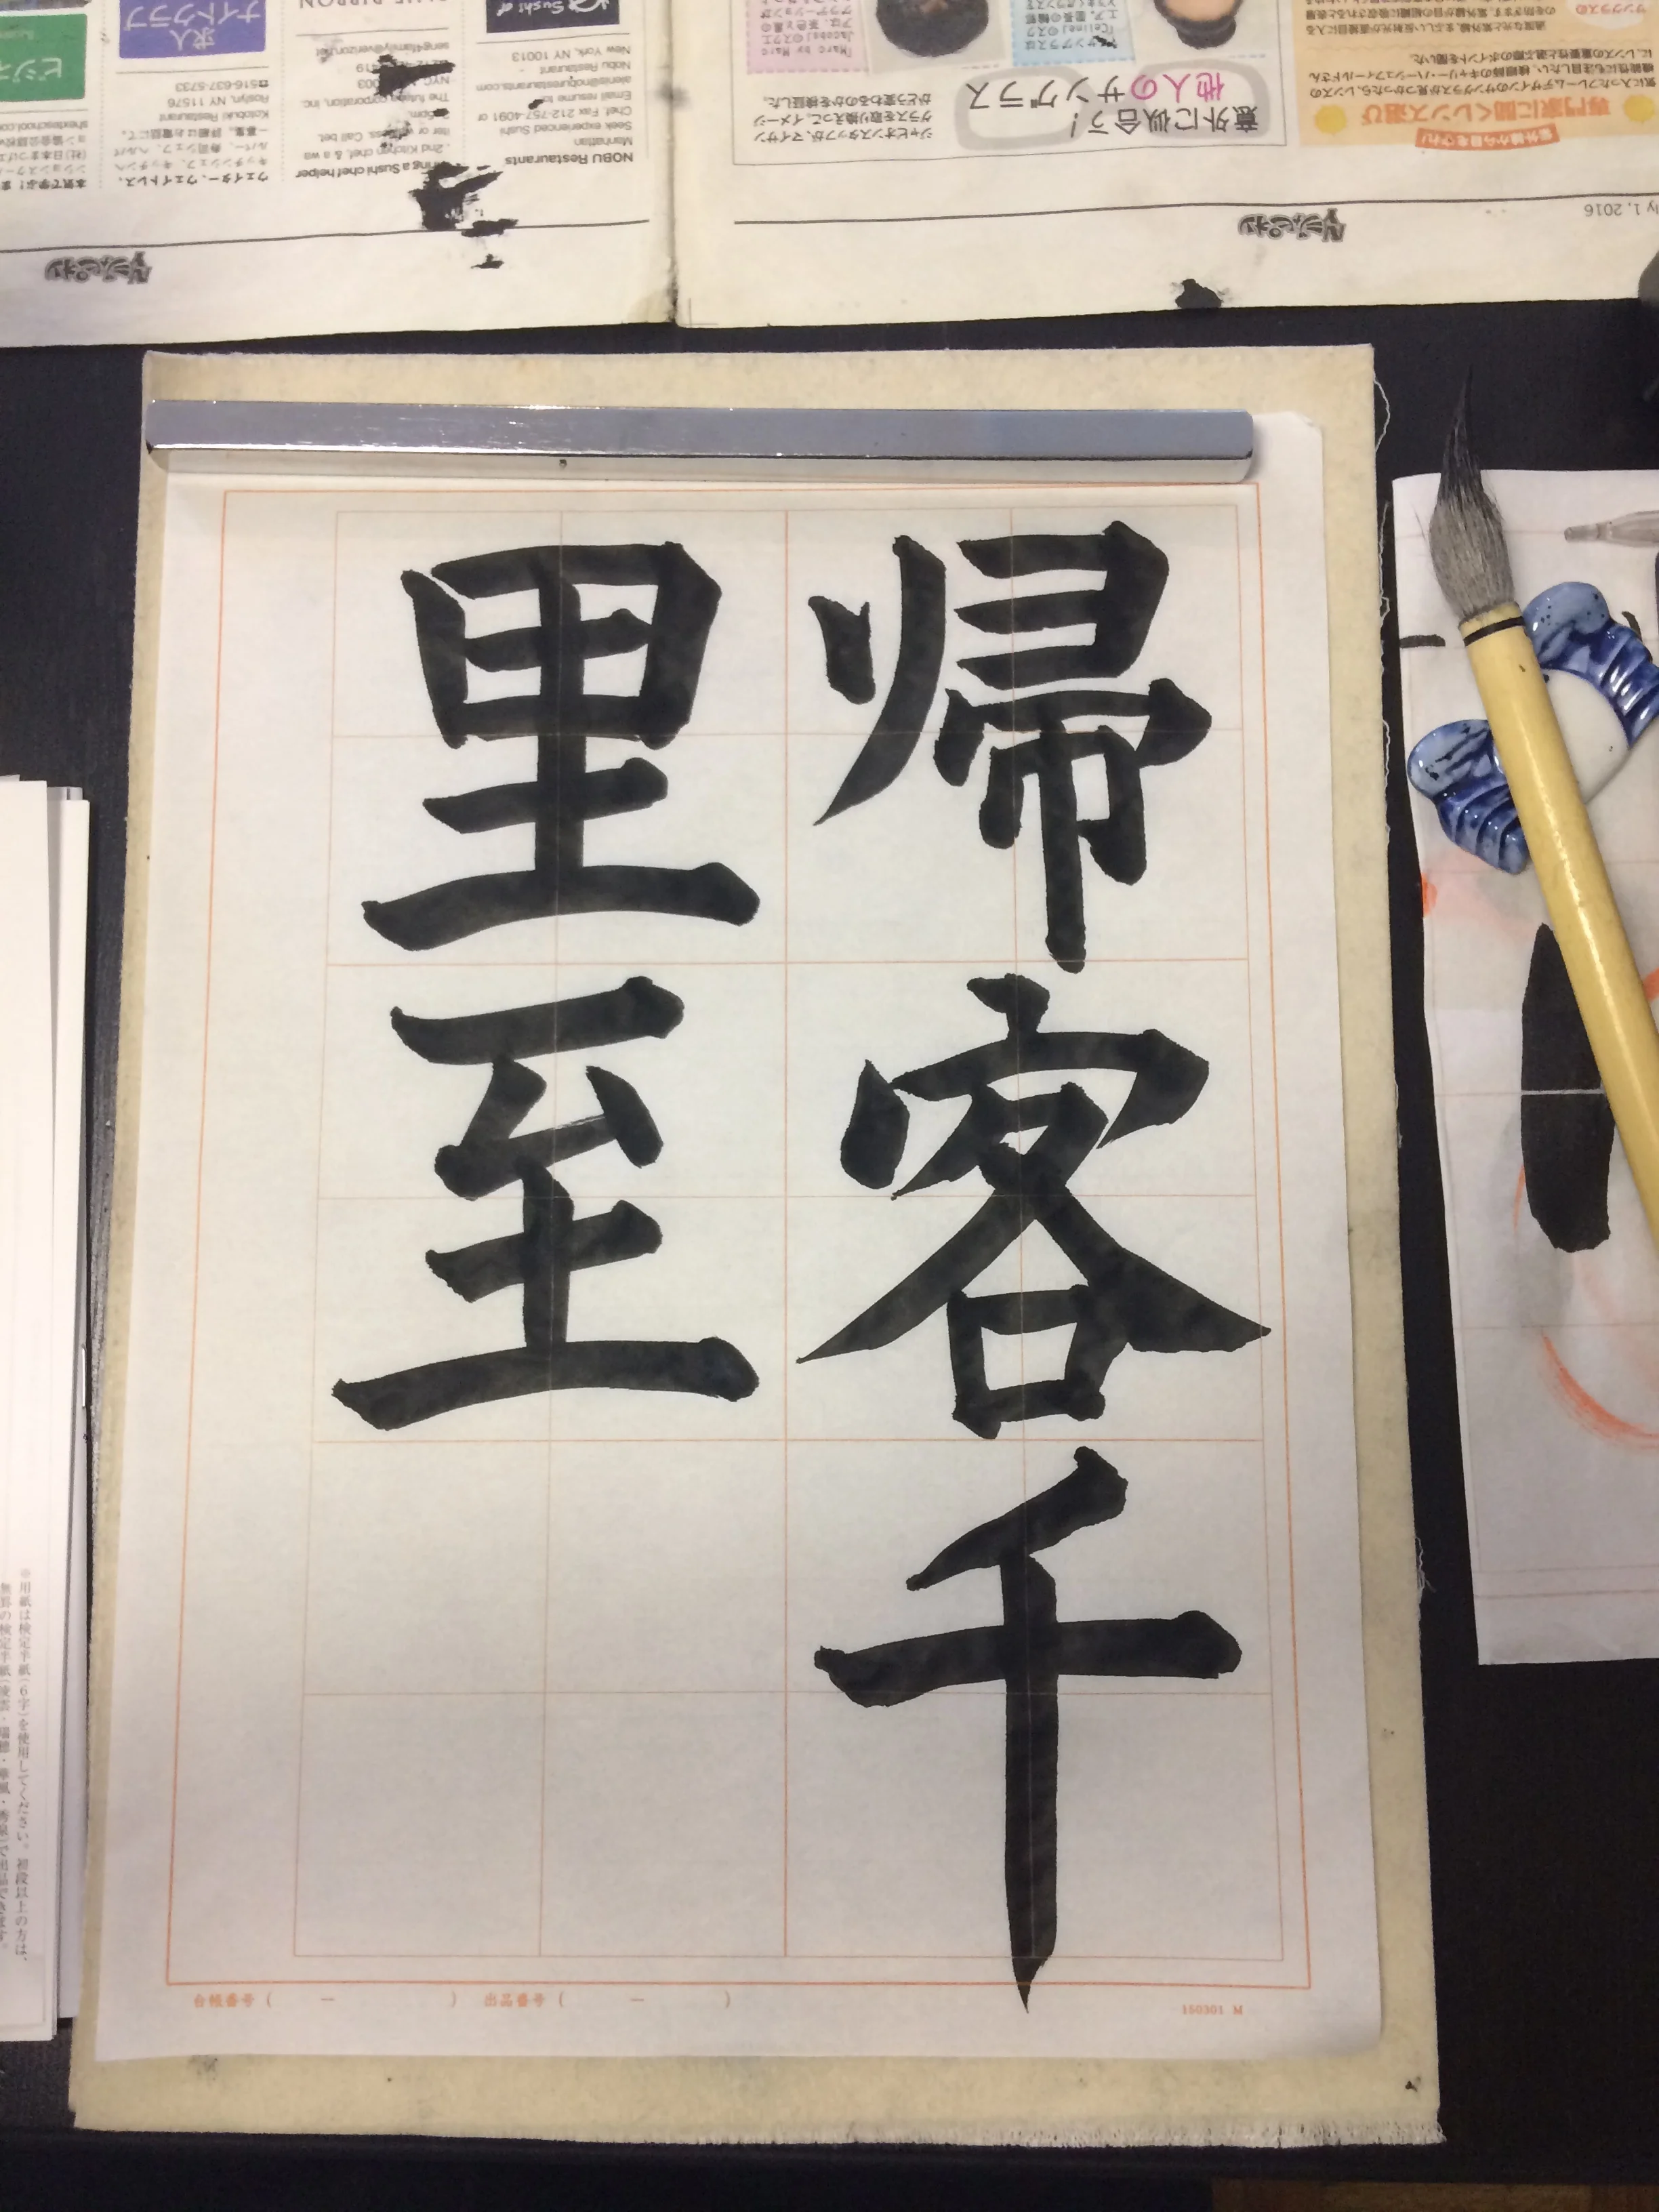
Welcome to the final installment of our Japanese Calligraphy 101 series: Practice, Corrections, and Choosing the Best. Now that we've prepared our materials and warmed up, how do we practice? How to we take corrections and improve a piece? And finally, how do we decide which is the best piece?
1. Initially, I practice on gridded, lower-quality paper. After a couple of practices, I take the best one to my instructor for her corrections.
2. My instructor will sometimes write over my practice copy in orange ink, showing me if any lines should be thinner or thicker, at a different angle, or a different shape. sometimes she will just describe the necessary changes to me.
3. For this piece, my instructor told me I needed more variety in the strength of my lines, and the two highlighted lines in particular needed to be thicker and stronger.
4. I then write the piece out several times on high-quality paper (the shitajiki underneath has grid lines, so I still have a guide for the proportions).
5. To judge which is the best, it's ideal to stick them up somewhere next to each other (my instructor has a whiteboard and magnets). This way, you can step back and look at them all at the same time, comparing them to each other and to the piece you're copying from.
6. My instructor and I looked them over and settled on the one on the right. This is the one that I will send to Japan to be graded at HQ.
And that is how class goes! In this way, I will copy 3-4 pieces each class, selecting the best ones to send to Japan for grading. Next week, I will show you what that grading looks like on a selection of different assignments.


